Acoustics: Tame Your Recording Space
Your room is an active musical instrument whether you want it to be or not. In an untreated room, you are listening to sound reflected off drywall, glass, and hardwood, skewing what you hear by up to 20 decibels.
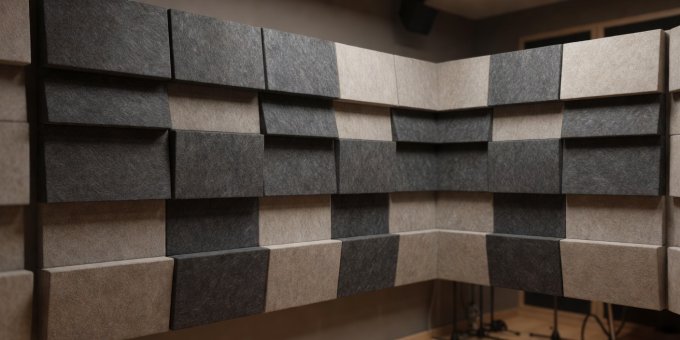
1. The Problem with Small Square Rooms
When sound waves travel in an enclosed room, they strike parallel surfaces and reflect back upon themselves. At frequencies where the wavelength matches the physical dimensions of the room, standing waves (modes) develop. This creates extreme spatial peaks (boomy bass) and severe nulls (places where low frequencies cancel out completely).
Square rooms (e.g., 3m by 3m with a 2.5m ceiling) are the most destructive because length and width share the exact same resonant frequencies, stacking resonances on top of each other. If your room is square, acoustic treatment is not optional—it is required to make any trustworthy mixing decision.
The Failure of Polyurethane Foam
Lightweight 2.5cm acoustic foam packs sold online have high absorption coefficients above 2.5 kHz, but close to zero absorption below 500 Hz. Adding them will make your room sound muffled and lifeless in the highs while leaving lower-mid mud completely untouched. True broadband absorption requires high-density porous materials like Rockwool RW3 (60 kg/m³) or Owens Corning 703 (45 kg/m³) with a minimum depth of 100mm.
2. Strategic Treatment Priority Hierarchy
If you have a limited budget or limited space, install acoustic treatment in this exact sequence to achieve maximum acoustic return on investment:
Acoustic bass pressure builds to its highest intensity where two walls meet the ceiling or floor (tri-corners). Installing 100mm to 150mm thick panels diagonally across corners with an air gap behind them converts high sound particle velocity into heat, smoothing bass decays throughout the room.
Sit at your mixing chair and have a friend slide a mirror flat along your left and right side walls. Wherever you can see your studio monitor's tweeter in the mirror is a primary reflection point. Mount a broadband absorption panel centered on that exact spot to eliminate stereo image smearing.
The ceiling directly above your desk and mixing position is another major early reflection boundary. Suspending a 100mm panel 10cm down from the ceiling stops vertical comb filtering and brings vocal clarity into sharp focus.
Place movable absorption gobos behind the vocalist when tracking. This deadens the room sound entering the front of the microphone capsule.
3. Monitor Positioning: The 38% Rule
Before buying room correction software, correct your physical speaker geometry:
- Face the Short Wall: Position your desk so you fire monitors down the longest dimension of the room. This allows low frequencies more distance to dissipate before rebounding.
- Symmetry is Mandatory: Your listening chair must be centered equidistant between the left and right side walls. Unequal side distances destroy stereo panning accuracy.
- Equilateral Triangle: The distance between your left and right tweeters should equal the distance from each tweeter to your ears, angled inward at 60 degrees.